Saturday, April 16, 2016

CAS(E) this Sketch #168

Over at the CAS(E) this Sketch blog their Sketch #168 I thought would be challenging but once I picked a stamp set that had matching dies from Clearly Besotted I knew what I had to do and was quite pleased that I used 75% of the stamps on the card and only that stamp and die set.

I paired it with my favorite Stampin UP ink and card stock and created two cards at once.

 I started off my using some inexpensive wire/jewerly cutters that I purchased from Walmart to detach my dies.
 I am using my Fiskars stamp press because the stamps in this Fancy Florals set have alot of sold images.
 I arranged all the buttons in the set solid and lined on my stamp press and began to stamp them in Crumb Cake ink on to Very Vanilla card stock.


After each time I stamped the group I turned the stamp set in different directions as to not get the same stamps close together.

The panel is sized 3 1/2 by 4 3/4.
 Since these dies are solid I needed to cut them out of the Very Vanilla card stock first then stamp them with my Pear Pizzazz, So Saffron, and Crisp Cantaloupe ink.

I also used my stamp press for these stamps as well.
 I also stamped the inside panel and back of the card as well.
 Using some tape to add so string around the button panel.
 I poped the panel up on foam and also the flower and leaves.
Finished card.

I also poped the sentiment up, here is a close up.

Some basic supplies I use I purchase from Hobby Lobby or Micheal’s with coupons or on sale
Hobby Lobby brand is called The Paper Studio
their website is http://www.hobbylobby.com/home.cfm
Micheal’s brand is called Recollections
their website is http://www.michaels.com/
Target Store site http://www.target.com/

Find me on Face Book, click here https://www.facebook.com/Craftyjennifer
Find me on Pinterest, click here http://www.pinterest.com/craftyjeffiners/
I am on Instagram too, craftjeffiner

These ARE NOT affliate links, no way involved with these company’s, I just love their products. These are links to their stores.

My demo is Jenny Rast Find a Stampin UP demon here http://www.stampinup.com/home/en-US/

I used Stampin up ink in Crumb Cake, Pear Pizzazz, and So Saffron. I also used Crisp Cantaloupe (its retierd). I used Very Vanilla and Crumb Cake card stock.  I also used their foam dots.

To purchase Simon Says Stamp products click here http://www.simonsaysstamp.com/
You can purchase the Clearly Besotted stamp set and dies from this retailer or your favorite online craft retailer, its called Fancy Florals.

Thursday, April 14, 2016

Project Life Mini Kit Christmas Wishes

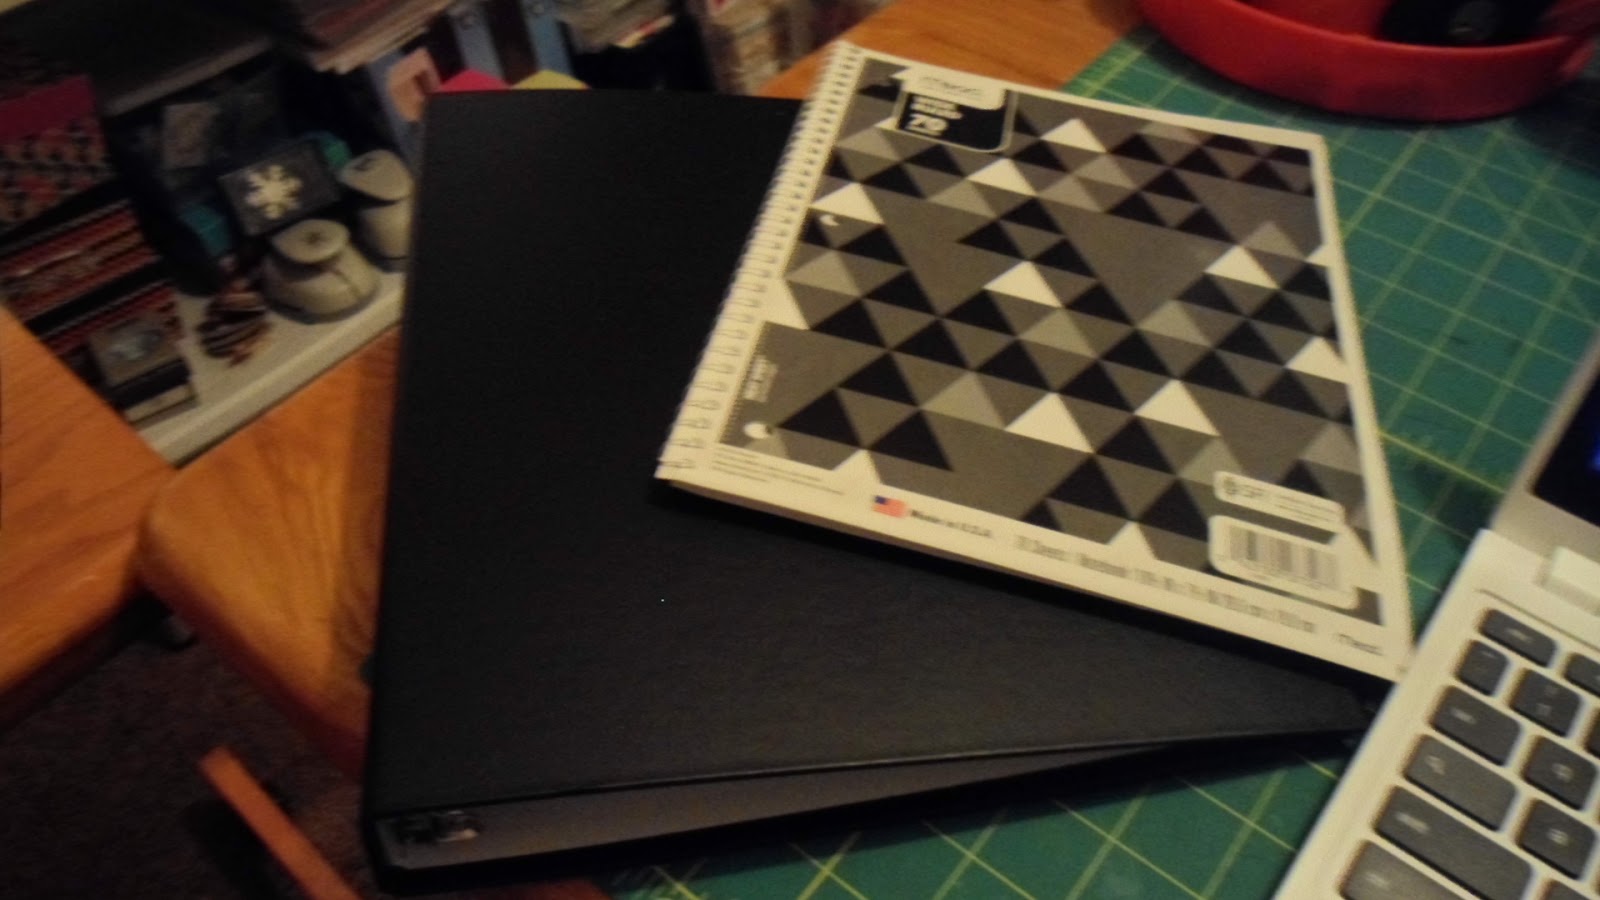
Here is a picture overview and my thoughts on the Becky Higgins Project Life Mini Kit called Christmas Wishes.

Becky Higgins shop online does not have this kit on their site but other online craft stores can still have it.  I purchased mine at Micheal's.

There are alot of pictures so there I warned you.

 This mini kit has 70 Chipboard Embellishments but I would NOT call them chipboard.

I would say they are less them heavy weight card stock.
 There is a very good variety at least two of each sometimes more of the same design which is nice.
 These elements would be nice if I used some on the girls books that I wrap each year for Christmas bed time reading, just use your tape runner adhesive and place on the wrapped books.
There seems to be the right amount of silver foil in each embellishment but I would not use too many one any one page.
 Here are all the 4X6 that are orientated to as I would call the tall side.

They are not double sided but you get two of each design.

I noticed 10 cards in the tall side design.
 Some close ups, the windows have the foil on them.

This reminds me of too Grandmothers house we go.
 There are also a decent amount of filler cards and journal cards in this kit.

Look at that elf, I think I know exactly where he will go in our December Stories album.

The one with milk and cookies on the bottom would be perfect for baking cookies or having coco and cookies during story time.
 The naughty/nice is a fun one to make a layout playful.

The brown in some of these cards is a nice rich dark chocolate brown.

This dashing threw the snow would be fun for a sleding photo or just walking in the snow.
 I like how they also encourperated some red and green into the mix as well.
 The believe card would be nice for story time before Santa comes and the sweet card would work if your making Christmas candies for friends and family.

That sweet card could also work with our sill elf when he grew candy canes last Christmas.
 This love is in the air card would work if your kissing your love under the mistle toe or even embarrassing you kids too.
 Here are the 5 side view 3X4 cards.

So that make a total of 30 one sided 3X4 cards in 15 designs with and extra card of each design.
 The blues go with the sliver perfectly.

I picture this card together when we make bird seed feeders.

We made some for the teachers for Thanksgiving but could see changing it up and giving them in the winter time, maybe a January gift.

This card does not scream Christmas!
 This green and brown work well together too and could be paired with gingerbread house making.

We also like to make cinnamon gingerbread ornaments and this card would work well together.
 This card would be pretty for a title but its not really my style but I could try and make it work, maybe if the birds are eating the bird seed.

Could also use as a gift topper, just put tape runner adhesive on the back and the persons name on the front.
 This card is not my style at all so I could RAK this to crafty friends or let my girls have one of each.

But I could see it used when your kids make a letter to Santa or if you track with the Santa app and screen shot it and print it out for your album.
This one is the super pretty dark chocolate brown color and I think I would use it to cut out a circle and possibly use it on a card instead of my album.
 Now the 4X6 in the side view.

There are 8 signle sided with an extra one of each design as well.

A good mix of journal cards and filler cards.
 This one is cute with the red and silver but again I do not believe I would use this in my album.
 This one I would cut down and remove the mints on the bottom and could see it as a title for a normal scrapbook layout.
 This one again would be good if you use the Santa tracker app and screen shot some pictures.

Or part of sending your childs letter to Santa.
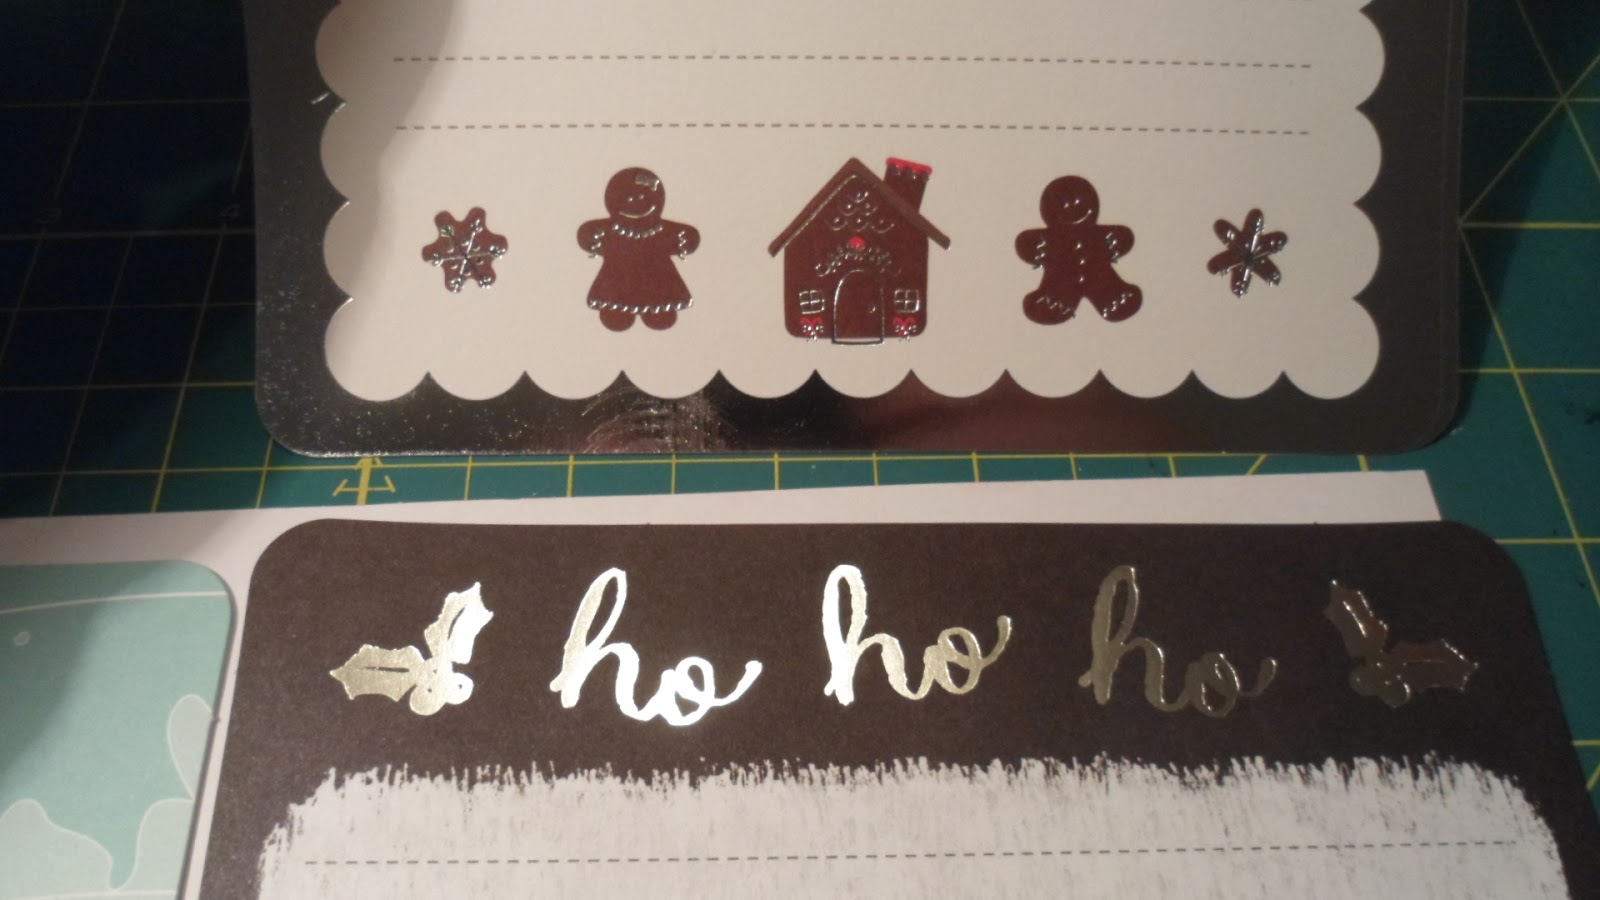
 Again the gingerbread for baking cookies or crafts.

I am not a fan of the ho ho ho but I can see my self cutting it down and re rounding the corners and adding it to a normal scrapbook page.
 If your into snow glowbs then this is the card for you.

I can again see my self cutting it in half and using it for a traditional scrapbook page.
 This one is cute if your family goes caroling or your children have school programs.

Or just signing in the car.
 This one can be good for just about anything, the beging of the album, middle, or end.

even can be used for a card if cut down a little and re round the corners.
Here are the three tall 4X6 cards, these are just filler cards.
 This one can be used all over your album too because it says a hodpodge of things during Christmas time and has that nice deep green with silver color.
 Again the nice dark chocolate brow, this can be used again for mailing Santas list, Christmas cards, Santa App, or even wrapping gifts.
 Here are the last four that can be used either direction.

They are 4X6.

So again 30 4X6 cards, 15 designs and 2 of each design.
 The snowflake card is very versatile along with the holly card.
I am not sure about the one on the left, I think I will give that too my girls as well but the one on the right would work for journaling


And that is it in a nutshell, I will link to projects I have done with this kit when they get done.

Some basic supplies I use I purchase from Hobby Lobby or Micheal’s with coupons or on sale
Hobby Lobby brand is called The Paper Studio
their website is http://www.hobbylobby.com/home.cfm
Micheal’s brand is called Recollections
their website is http://www.michaels.com/
Target Store site http://www.target.com/

Find me on Face Book, click here https://www.facebook.com/Craftyjennifer
Find me on Pinterest, click here http://www.pinterest.com/craftyjeffiners/
I am on Instagram too, craftjeffiner

These ARE NOT affliate links, no way involved with these company’s, I just love their products. These are links to their stores.

Coffee Stamps and Dies List

Here is the start of my reference, a place for me to list my stamps and dies in catagories, I also have a Binder that I will be putting these in so that I can reference what I have purchased in the passed.

If you would like to see the binder blog post of how I put it together CLICK HERE.


This is My Favorite Things Perk Up stamp set

mft_lld37_perkup_webpreview.jpg (650×1019)                                                                                                           This set has a good amount of large and small sentiments to suit your paper crafting needs, it also has a few small images to accent your project.

This is a 4X6 stamp set that is Photopolymer.

Cards and or Projects I have made using  MFT Perk Up stamp set

http://cricutwhenican.blogspot.com/2016/04/mft-sketch-challenge-276.html

This die set is also from My Favorite things called Coffee Cup die
P1839960PM1L__64555.jpeg (1000×1000)                                                                                    This die set it sized right for card making but can also be used for accents to other projects like gift cards or tags.

The cup size is 2 1/2 inches tall and about 1 1/2 inches wide.

The star and words are meant to cut inside the band for the coffee.


Cards and of Projects I have made using MFT Coffee cut die

http://cricutwhenican.blogspot.com/2016/04/mft-sketch-challenge-276.html

Wednesday, April 13, 2016

Stamp and Die set Reference

Here is the spot where I will hopefully fill these posts with what Stamps and Dies I have in my collection, I will update it as I use them.

I am also printing a black and white image of the stamps and dies using images from Pinterest or Google and provideing links to purchase when I can, sometimes things are discontinued but you can find them on Ebay, Etsy, or selling groups on line like Facebook or YouTube.

After each photo of the product I will provide link to cards I have made using the product.

My hope is by doing this and having these print outs I will be able to purchase things accordingly without doubleing up and also if I want to make a specific card I can look in the binder and be like Hey I have all these Coffee Stamps and Dies lets pull them out and see what I can create.

I am using a simple three ring binder and might need to add more depending on how far I will go with this project and if I find it useful.


 Here is the note book and three ring binder I will be using.  I am only using the note book to tear out the pages from it since I do not have any loose leaf paper at the moment.
 I print out my stamp and die sets via my wifi network to my printer that is conveniantly located in my craft room and I do print this on heavy weight white card stock that I purchase from Hobby Lobby when its on sale.

Most times I print on the Micheal's 65 pound card stock but I wanted this to be dourable.
 I hold punch them, in the end if this works out like I hope I believe I will laminate them to make them even more sturdier but time will tell to see if I stick with this project and continue to add to it.
 I have an old pack of River Rock card stock from Stampin UP, its an old retierd color that I will use to divide up my catagories.

I am also adding the loose leaf paper between layers.
 I used two hexagon punches from some scrap heavy weight white card stock and the mini stapler to attach them.

I also use a Stampin Write marker to mark Coffee on the label.

All from Stampin UP
 After the River Rock card stock paper divider I used a loose leaf sheet of paper to write what stamp and die set I had finished.

Again this may change but for now this is how I am doing this.
 I also decided to stamp the stamp set on Vellum that I hole punched and then cut to around the 4X6 size.

My idea is to have the stamp sets stamped and added to easily see the size of the stamps for reference.
 I used the wrong ink, I tried blotting it off and it was still wet.
 So I heat set it using some clear embossing powder on front.  Not perfect but I can see each stamp so that is all that matters.
I also cut out the dies to have a reference as to how big, I am decideing if I should add some size guidlines as well.


I hope to reference this post when I am creating other posts.

What I mean is I am going to make a post with all my Coffee Stamp and Die sets and in the begining I will reference this link so you can see how I put it together, well the binder I mean.

I hope to also reference behind the photos of the Stamps and Dies what/where/when I blog posted about a card I used the product in.

Some basic supplies I use I purchase from Hobby Lobby or Micheal’s with coupons or on sale
Hobby Lobby brand is called The Paper Studio
their website is http://www.hobbylobby.com/home.cfm
Micheal’s brand is called Recollections
their website is http://www.michaels.com/
Target Store site http://www.target.com/

Find me on Face Book, click here https://www.facebook.com/Craftyjennifer
Find me on Pinterest, click here http://www.pinterest.com/craftyjeffiners/
I am on Instagram too, craftjeffiner

These ARE NOT affliate links, no way involved with these company’s, I just love their products. These are links to their stores.